妹妹做的Dutch Apple Cake(荷蘭蘋果蛋糕)
據說是充滿香氣及濕軟的家常口感
10/11假日下午看Discovery Travel & Living頻道,剛好有個節目叫做「瑞秋的烤箱魔法」(Rachel Allen Bake! ),裡面有一小段在介紹超簡單的荷蘭蘋果蛋糕。似乎是Rachel 在英國科克(Cork) Ballymaloe 烹飪學校教學的電視節目,邊做這個蛋糕時,同時也有拍攝到其他四個學員製作的樣子) 。因為聽到主持人Rachel一直說「SO~EASY、VERY~VERY~EASY」。我看完整個小段落,便推推我妹說,好像很簡單齁(做妹妹的罩子就要放亮點,因為姐姐在點菜了)
我妹悠悠的說「好像材料我們家剛好都有耶...」
「那妳趕快去做吧!」我用腳把我妹趕離客廳
「阿娘早上有買蘋果!」我ㄧ邊大叫,不忘提醒妹妹
接著繼續津津有味地看著下段的巧克力專門店介紹
(那也是我的最愛)
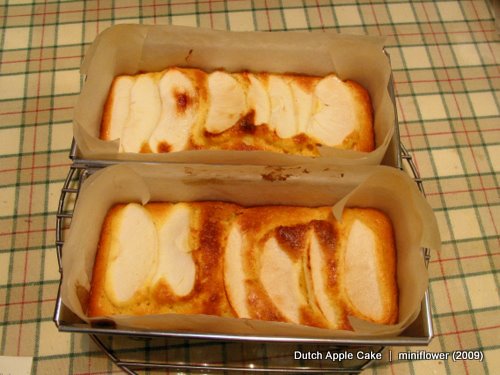
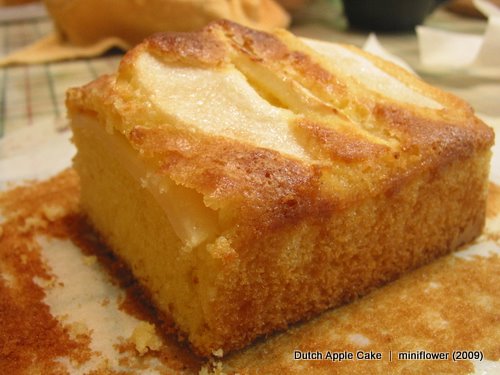
待我去廚房瞧瞧的時候,妹妹已經在混合全部了,烤箱後出來就是這樣啦!
香氣四溢!
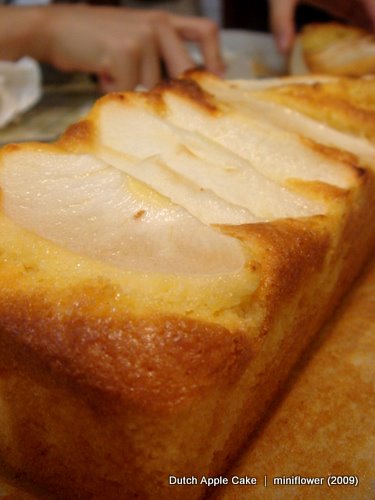
鋪滿蘋果片,不知道為啥沒像電視教學的沉入麵糊裡,不過這樣也挺可愛的
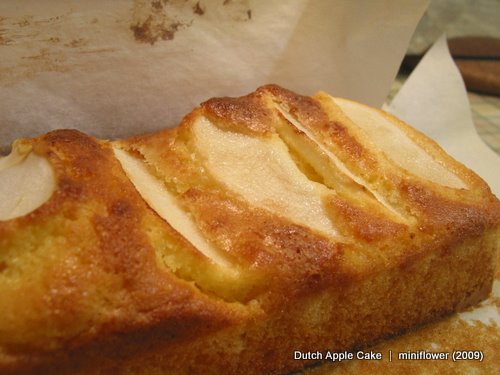
看起來有點乾,或許是我們把糖的份量減半或是容器的緣故
用的是省產蜜蘋果,蘋果直接吃也好吃^^不易發黃
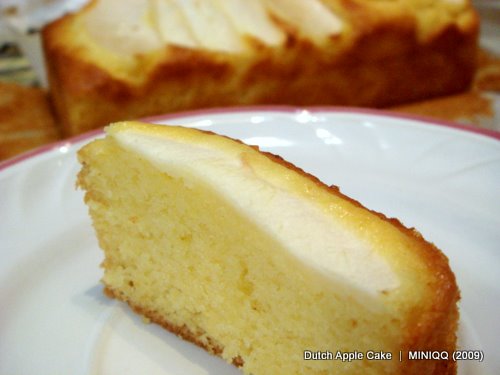
雖然邊邊看起來是有點乾硬的
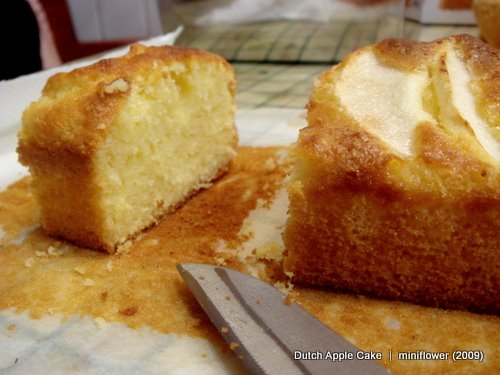
其實切開以後,就覺得呈現一種鬆軟的感覺
吃的時候配紅茶好美味~~
電視裡的成品還搭了一大坨鮮奶油、灑上一堆糖粉@@!
也許是比例關係,我看官網灑上糖粉後,蛋糕是呈現扁塌的樣子
作法如下:
材料:
蛋2個
糖粉175g (我們只用了80g)
香草精 1/2 小匙
無鹽奶油 75g (我們放70g)
鮮奶 75ml
低筋麵粉 125g
泡打粉 2-1/4 小匙 (我妹目測)
肉桂粉 1/2 小匙
準備好材料及蘋果(也可以放杏桃、李子或蔓越莓,也可以把這些水果交替搭配) 就可以開始做啦
作法:
1.烤箱預熱到200℃,把烘培紙鋪在20公分正方形烤盆裡
不過我家沒有正方形的扁平烤盆,所以就用長方形的兩個:P
2.把雞蛋、糖、香草精用電動攪拌器混合,約五分鐘。
讓這糊糊的東西可以寫出數字8(影片裡有介紹這個小撇步)
攪拌器微微往上拉,快速寫8,隨動作糊狀物落下,表面隱約行成8字。(不會形容...)
3.牛奶放入鍋裡微加熱,加入奶油。全部溶化後加入蛋糊。用電動攪拌器打勻
再把麵粉、泡打粉、肉桂粉篩過後也加入。
影片中示範用刮刀"切"的方式由底向上攪拌。(太大力會讓麵粉出筋)
而且時間要掌握好,可能是加了泡打粉的緣故。
4.切片的蘋果排放在麵糊上,據說會這時水果會沉入麵糊中
(可是不知道是不是我們蘋果切太薄、或是使用的容器是較高窄的,蘋果片始終沉不下去!)
用200℃烤10分鐘,接著把烤箱降溫到180℃再烤20~25分鐘。
最後用尖尖的東西戳這美味的傢伙,如果底部沒有沾黏的麵糊...就完成啦。
5.微涼之後倒出來,切成方塊。搭配鮮奶油(像生日蛋糕那種)
最後附上官網的美麗照片

看官網照片,就是很家常的一個小點心,也不用精雕細琢。
濕軟扁塌充滿手做的趣味。而且...可以依各家口味調整:P
以下食譜資料來源:
http://www.lifestylefood.com.au/recipes/8967/dutch-apple-cake
【ingredients】
2 eggs
175g (6oz) caster sugar, plus 15g (1/2oz) extra sugar, for sprinkling
1/2 tsp vanilla extract
(3oz) butter
75ml (2 ½ fl oz) milk
125g (4 ½ oz) plain flour
½ tsp ground cinnamon
2 ¼ tsp baking powder
2 small (or 1 large) cooking apples
75ml (2 ½ fl oz) double cream, to serve
【Method】
1.Preheat the oven to 200ºC (400ºF), Gas mark 6. Line the sides and base of the cake tin (20 x 20cm (8 x 8in) square cake tin) with parchment paper.
2.Using an electric whisk, whisk the eggs, 175g (6oz) caster sugar and vanilla extract in a large bowl until the mixture is thick and mousse-like and the whisk leaves a figure of eight pattern (this will take about 5 minutes).
3.Melt the butter in a saucepan with the milk, then pour onto the eggs, whisking all the time. Sift in the flour, cinnamon and baking powder and fold carefully into the batter so that there are no lumps of flour. Pour the mixture into the prepared tin and smooth the surface.
4.Peel and core the apples and cut into thin slices, then arrange them over the batter. They will sink to the bottom (this is meant to happen!). Sprinkle with the remaining sugar and bake in the oven for 10 minutes. Reduce the oven temperature to 180ºC (350ºF), Gas mark 4 and bake for a further 20–25 minutes or until well risen and golden brown.
5.Allow to cool in the tin, cut into squares and serve warm. It is delicious with cream!
【VARIATION】
Raspberry and pear: Instead of the cinnamon, mix the finely grated zest of 1 orange into the batter. Instead of the apples, sink 100g (31/2oz) fresh or frozen raspberries and thin slices of 2 pears into the batter and cook in the same way.

 留言列表
留言列表